Hardwood Flooring Installation
Get a remarkable hardwood floor and create an elevated standard throughout your home
700+ hardwood floors installed
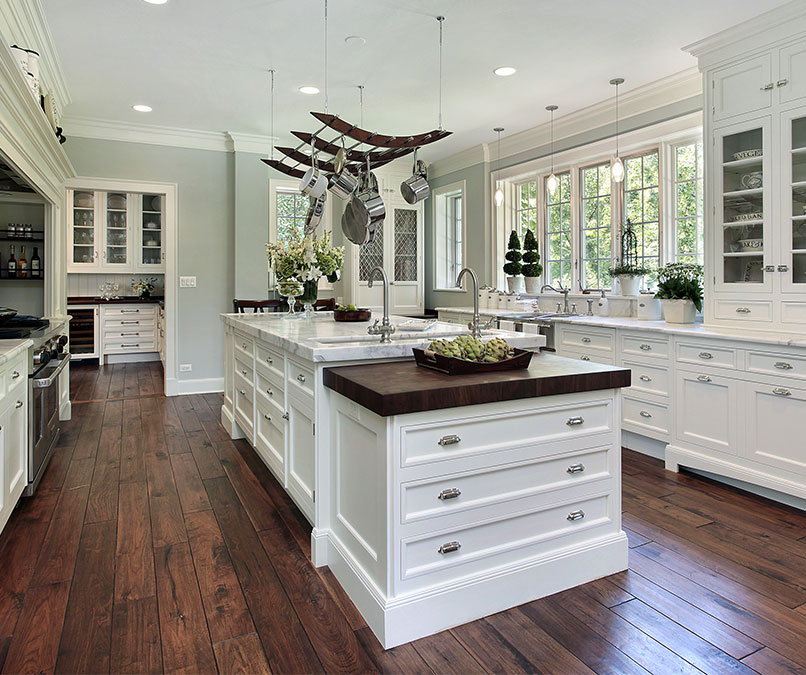
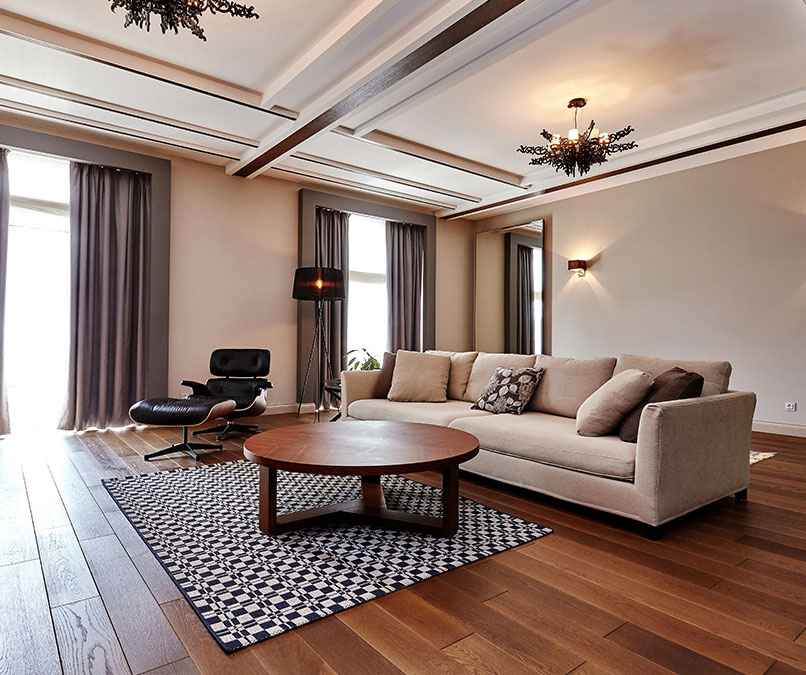
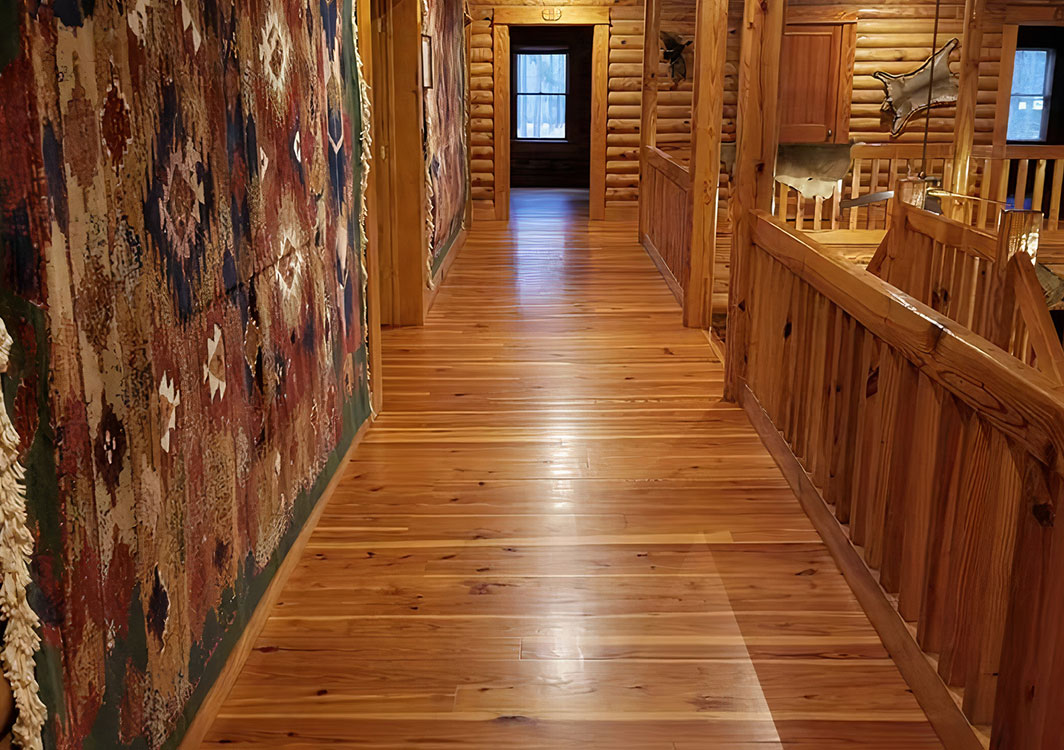
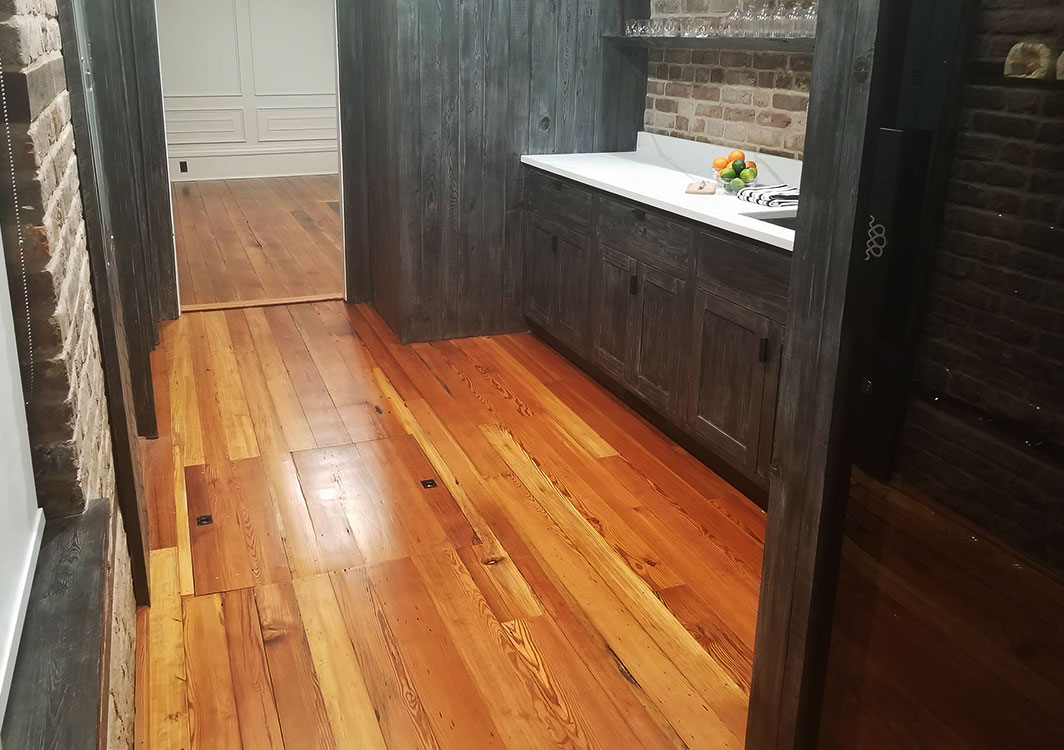
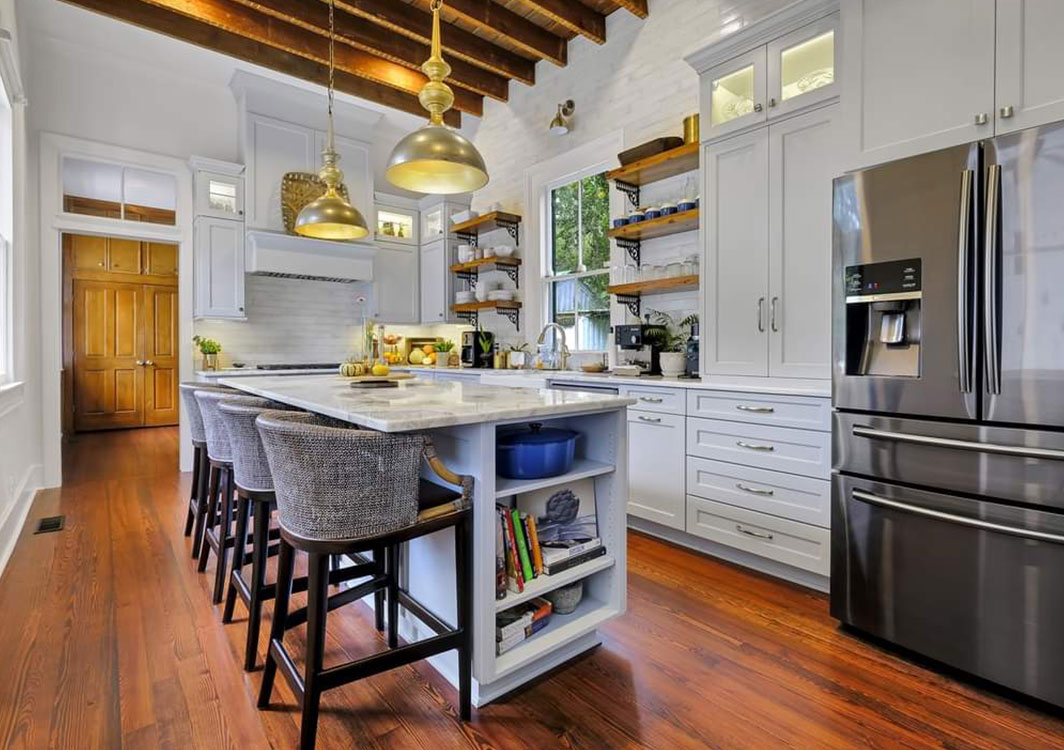
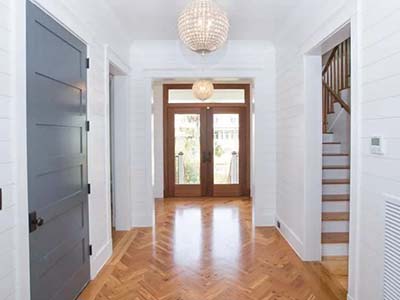
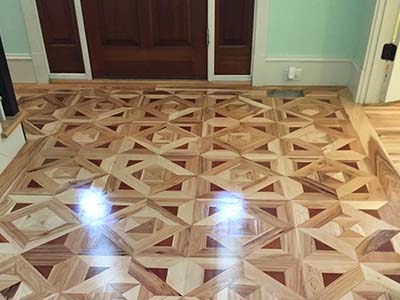
Genuine Hardwood Floors To Enrich Your Life
Carpets are becoming more impractical every day and rightly so. They are harder to clean than any other floor and are a source of dust, allergens, and dust mites.
By installing a new hardwood floor you are not only creating a safer home environment for you and your family, you are also making life easier for yourself. Instead of scrubbing your carpet for hours when you spill something, all you have to do is wipe the floor with a cloth or mop and you’ll never know the stain was there.
Keep your home cleaner and your space stylish with a new hardwood floor that brings both excellence and convenience into your daily routine.
Timeless Quality
There’s something different about a hardwood floor that no other product can match. The comfort, warmth, and longevity that other materials can try to imitate – but can never quite achieve – is unique to traditional hardwood floors.
Hardwood floors are also more than just a high-end product, they are synonymous with tradition and history. Every older-styled home has a hardwood floor.
If you own such a house and the floor is showing signs of aging, you can still enjoy the feel, style, and atmosphere of the space. A brand new hardwood floor can help you keep and even elevate your home’s originality.
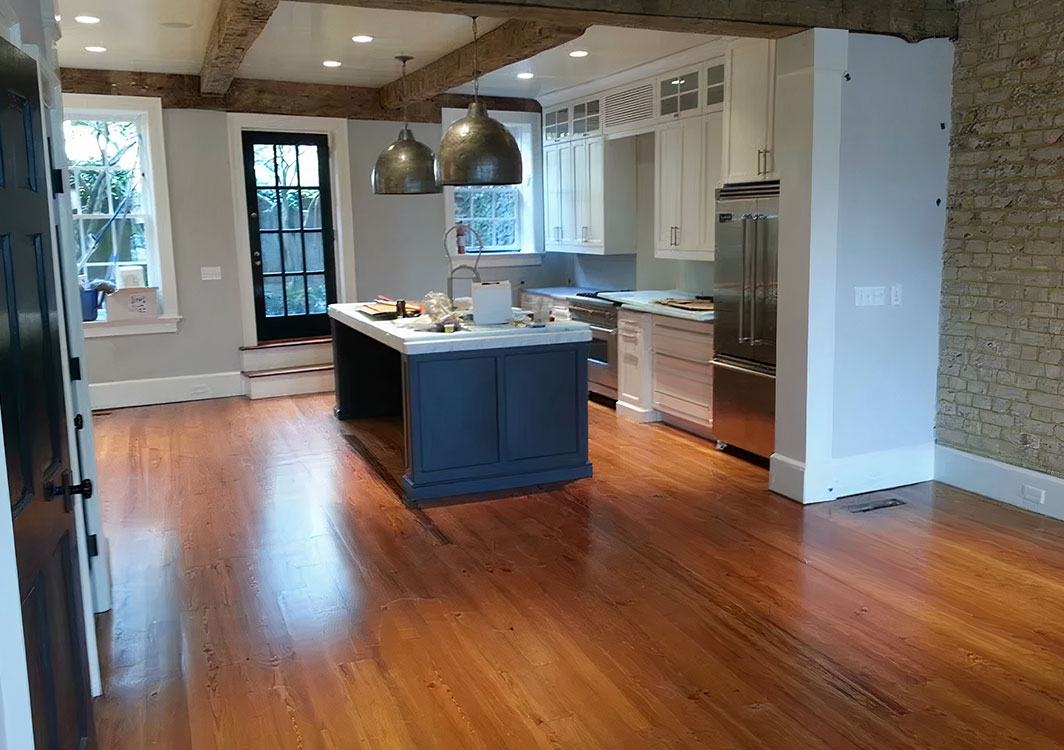
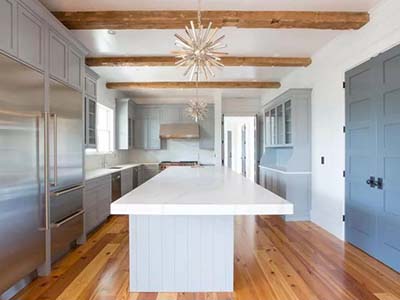
A Classy And Original Hardwood Floor In 3 Easy Steps
To make sure that your experience with us goes as smooth and seamless as possible, we communicate openly and transparently throughout the process.

1. Get In Touch
Fill out our form and send us pictures of your current space. We get back to you with a phone consultation and talk about what you want to achieve in your space. We’ll be able to offer a budget estimate and schedule an in-home consultation if needed.

2. We Get To Work
During the in-home consultation, we’ll discuss your project in depth and finalize the vision you have for your hardwood floor. Before we get to work, we’ll talk about the project expectations and schedule and make sure we are all on the same page.

3. Love Your New Floor
Your beautiful hardwood floor is now complete and it’s the perfect final piece to your dream home. Walk through the finished project and let us know if anything comes to mind, then get ready to enjoy your new floor.
Hardwood Flooring Installation Prices
Randy Stewart’s Hardwood Flooring prides itself in delivering quality over quantity so you can expect your new hardwood floor to be installed to perfection. We aim to be efficient and get your enhanced space back to you as soon as possible, while also making sure that you get a unique and personalized floor.
Base Hardwood Floor*
$3 - 5k
Includes materials, labor, a one-day installation, and a new hardwood floor for a 200-300 sq ft space.
Average Hardwood Floor*
$9.5 - 14.5k
Includes materials, labor, and a new hardwood floor for a 800-1200 sq ft space.
High-End Hardwood Floor*
$20k+
Includes materials, labor, and a new hardwood floor for a 1500+ sq ft space.
*Prices are averages and may change depending on the size of your hardwood floor and your choice of finishes. You’ll receive an exact quote for your unique hardwood floor installation project after the in-home consultation.
National Wood Flooring Association Certified
We guide our work and everything we do by the motto “Quality Through Pride In Craftsmanship.” Enjoy nothing but the best as we enforce the highest standards of work and customer service possible.

Here’s What Our Customers Say
To help you make an informed decision about who to trust your floors to, we’ve compiled a collection of what our previous clients say about us and the work that we’ve done for them.
What a great company. Very professional, super friendly, and so easy to work with. They did such a great job at our home, the floors look amazing.
Worked around our schedule and finished early. The crew that came to our house were so nice and accommodating. i just wish I had more floors so they could come back.
KYLE HEUSTESS
This is a great company and we highly recommend Randy and his team. We had our existing floors refinished, in addition to new hardwood in two other rooms.
Jason showed up on time (actually early!) and worked tirelessly through the week. The finished product is beautiful and we couldn’t be more pleased.
This is the best experience we’ve had: they say what they will do, how long it will take, how much it will cost and then they do it!
J. S. KAHL
We interviewed several flooring businesses to have our Brazilian Cherrywood floors refinished.
We know the job can be challenging having had them done before with less than great results. Once I met with Randy, I knew we were talking with someone who had experience working with real wood and understood the difficulties of the project.
All his crew were professional and polite as well. I recommend Randy’s work without hesitation, just an excellent job.
ROBERT MACNEIL
Enjoy The Undeniable Elegance And Premium Quality Of A Hardwood Floor
(takes 1-2 min)