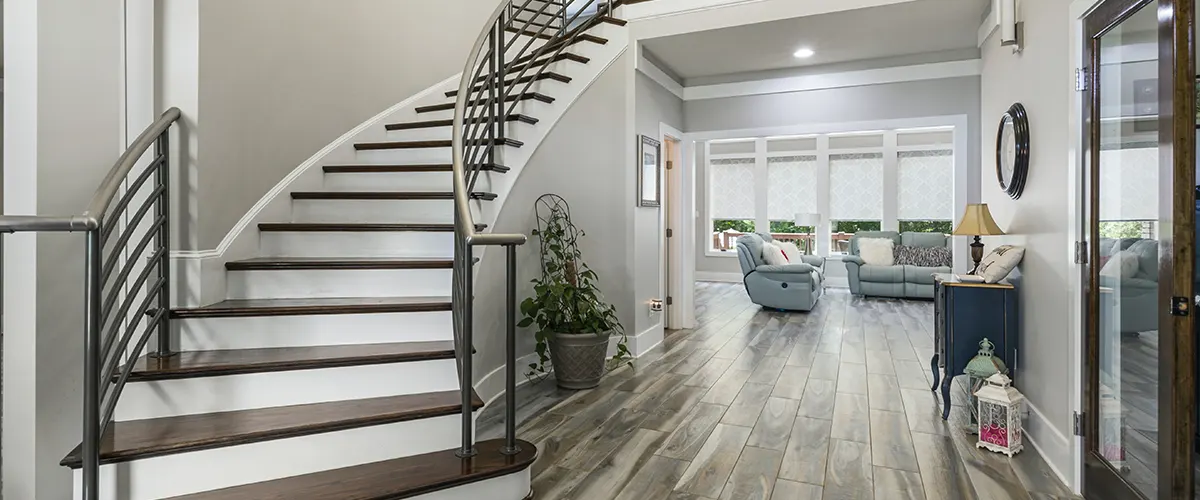
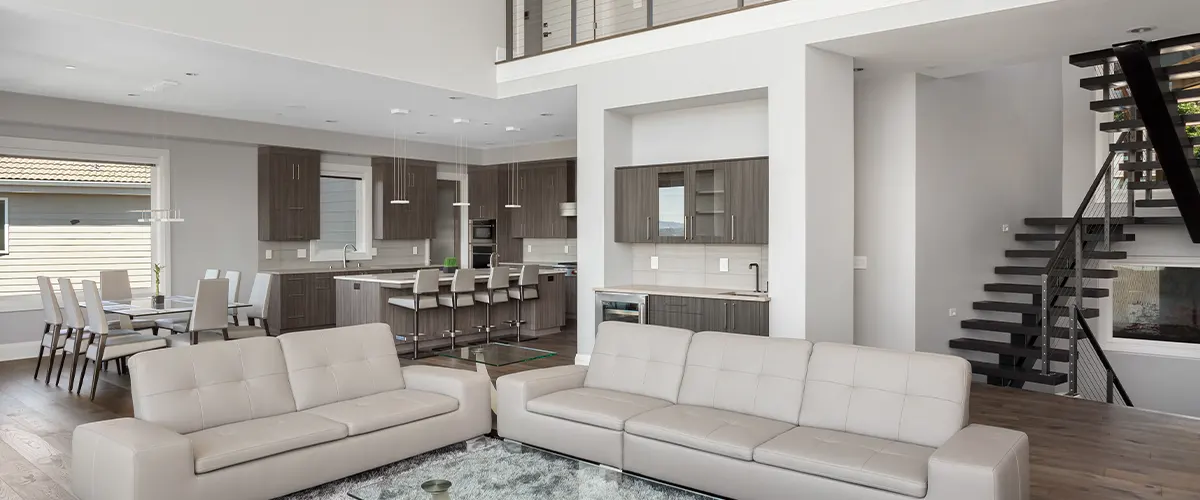
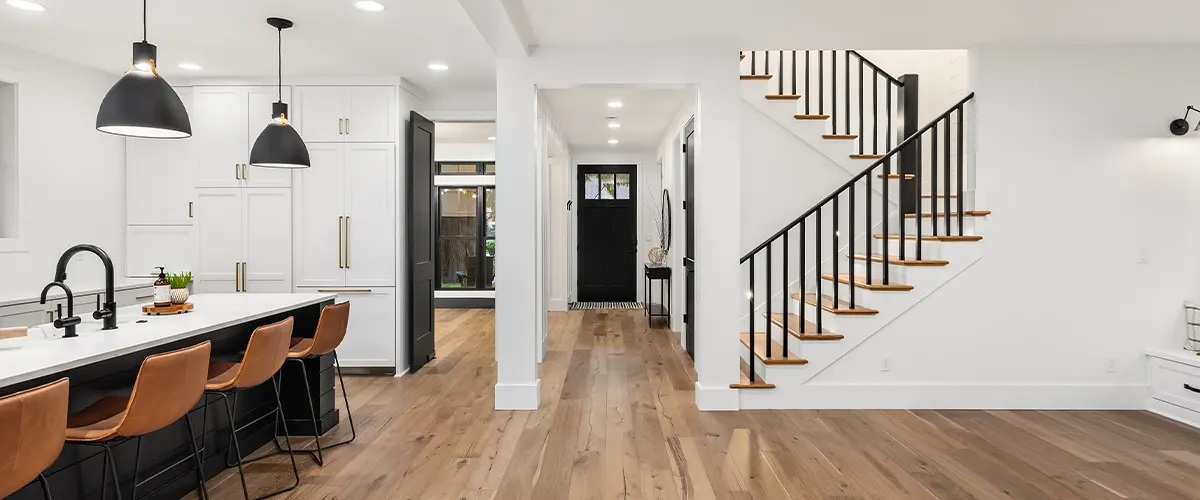
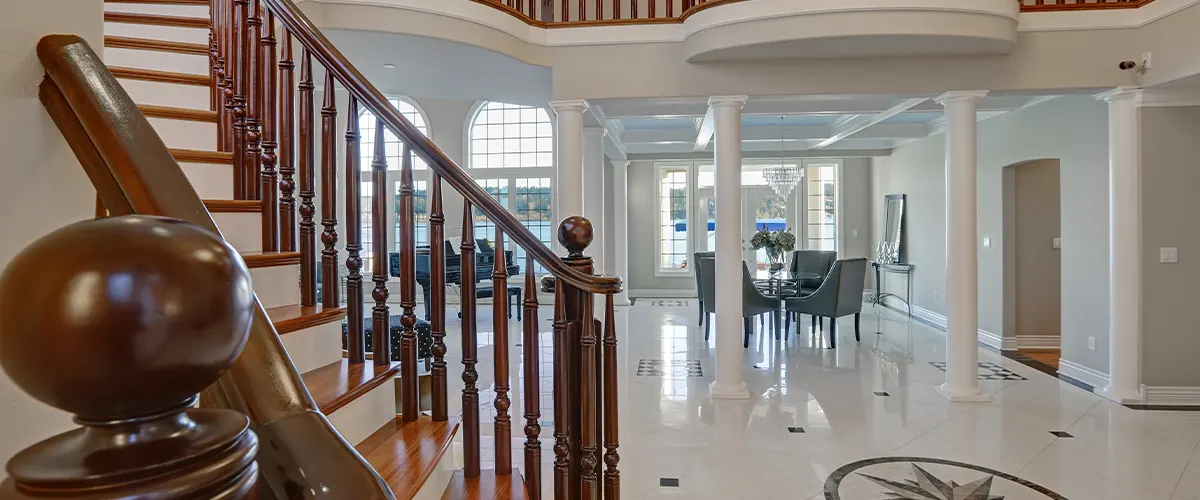
If you’re looking to add a touch of elegance to your home, consider upgrading your stairs with hardwood. It’s a difficult task, but with the right instructions, you can do it yourself! In this article, we will walk you through the steps of installing hardwood floor stairs. We’ll give you tips and advice along the way so that the process is as smooth as possible for you. Let’s get started!
Why Having Quality Stairs Is Important

Before You Begin
What Type Of Hardwood Should You Use
There are a few types of hardwood flooring that can be used on stairs. The most popular type is hardwood which is installed in a strip format. This type of hardwood flooring is very durable and can withstand a lot of wear and tear. It’s also easy to install and maintain. This is a good option to consider if you’re looking for a hardwood floor that will last for many years.
Another type of hardwood that can be used on stairs is engineered hardwood. This type of hardwood is made up of layers of real wood that are bonded together. It’s very strong and durable, making it a good choice for high-traffic areas. Engineered hardwood is also easy to install and maintain.
The last type of hardwood that can be used on stairs is laminate hardwood. Laminate hardwood is made up of a thin layer of wood that is glued to a fiberboard backing. It’s very lightweight and easy to install. However, it’s not as durable as the other types of hardwood and it can’t be refinished.

Tools And Materials
How To Install Hardwood Floor Stairs
Once you have all of the necessary materials, it’s time to begin installing hardwood on your stairs! The first step is to remove any existing flooring, such as carpeting or tile. You’ll also need to remove any nails or staples that are holding the old flooring in place. Next, you’ll want to sand down the stairs so that they’re smooth and even. This will help the hardwood adhere better and create a more polished look.
After you’ve sanded the stairs, it’s time to start installing the hardwood planks. Begin at the bottom of the staircase and work your way up. Make sure that each plank is level and even with the ones around it. Once all of the planks are in place, you can start nailing them down. Be sure to use finishing nails so that they’re not visible once the job is complete.
Now that the hardwood is installed, you can add any finishing touches, such as trim or molding. You may also want to stain or paint the hardwood to match your existing décor. With a little bit of effort, you can transform your stairs into a beautiful and stylish focal point in your home!

How to Maintain Hardwood Stairs
- Clean the stairs regularly with a damp cloth. Be sure to dry them completely afterward so that they don't become warped or damaged.
- Apply a hardwood floor cleaner every few months to keep the stairs looking shiny and new.
- If any of the planks become damaged, replace them as soon as possible. This will help to prevent further damage to the rest of the stairs.
By following these simple tips, you can keep your hardwood stairs looking beautiful for many years to come.
Do you have any tips or advice for installing hardwood on stairs? Share them with our community and learn all about the experience of other homeowners like you!
Conclusion
Installing hardwood on stairs can be a daunting task, but with the right instructions, you can do it too. If you’re considering installing hardwood flooring on your stairs, make sure to get in touch with us. We would be happy to walk you through the process and answer any questions you may have. Thanks for following our blog series on hardwood installation. Be sure to check back often for more helpful tips and advice.

